For runners of all levels, from weekend joggers to elite marathoners, the post-run cool-down is a critical, yet often skipped, component of a complete workout. This essential recovery phase, performed immediately after finishing a run, involves a brief period of active recovery followed by targeted static stretching. Its primary purpose is to safely transition the body from a state of high exertion back to rest, which helps improve flexibility, reduce the risk of injury, mitigate muscle soreness, and kickstart the physiological repair process, ensuring you can run stronger and healthier for years to come.
Why a Cool-Down is Non-Negotiable
Stopping a run abruptly can send a shock to your system. During intense exercise, your heart is pumping at a high rate, sending large volumes of blood to your working muscles. Your blood vessels are dilated to accommodate this increased flow.
When you suddenly stop, your heart rate begins to slow, but your blood vessels can remain dilated for a short period. Without the continued muscle contractions of running to help pump blood back to the heart, blood can pool in your lower extremities. This can lead to dizziness, lightheadedness, and in some cases, fainting.
A proper cool-down acts as a gradual transition, allowing your heart rate, blood pressure, and breathing to return to their resting levels in a controlled manner. This prevents the sudden drop in blood pressure that causes dizziness and places less strain on your cardiovascular system.
On a physiological level, the cool-down helps shift your body from a sympathetic nervous system state—the “fight-or-flight” response that dominates during exercise—to a parasympathetic state. This “rest-and-digest” mode is where your body initiates recovery, repair, and adaptation.
The Anatomy of an Effective Cool-Down
A comprehensive cool-down isn’t just about a few half-hearted stretches; it’s a structured, two-phase process. Think of it as guiding your body from a full sprint down to a complete stop, with an important pit stop for maintenance along the way.
Phase 1: Active Recovery
The very first step after you finish the main portion of your run is active recovery. This involves continuing to move at a very low intensity for 5 to 10 minutes. The goal is not to build fitness but to gradually lower your heart rate and body temperature.
For most runners, this means transitioning from your running pace to a slow jog, and then finally to a brisk walk. This gentle movement keeps the blood circulating effectively, helping to flush metabolic byproducts from the muscles and deliver the oxygen and nutrients needed for repair.
Phase 2: Static Stretching
Once your heart rate has settled, you can begin the second phase: static stretching. This is the “classic” form of stretching where you move a muscle into a lengthened position and hold it without movement for a specific duration. This is performed after a run—never before—because your muscles are warm, pliable, and most receptive to being lengthened.
Stretching warm muscles increases their elasticity, helping to restore and improve your range of motion. This is the prime window of opportunity to enhance your flexibility, which can lead to a more efficient running stride and a lower likelihood of muscle-strain injuries over the long term.
The Best Post-Run Stretches: A Step-by-Step Guide
Focus on the major muscle groups used in running: the hamstrings, quadriceps, glutes, hip flexors, and calves. Hold each stretch for 20-30 seconds, breathing deeply and evenly. Never stretch to the point of sharp pain; you should feel a gentle pull or tension, not agony.
Standing Hamstring Stretch
This stretch targets the large muscles on the back of your thighs, which are crucial for powering your stride. Stand with your feet hip-width apart. Extend one leg straight out in front of you, with your heel on the ground and your toes pointing up.
Keeping your back straight, hinge forward at your hips until you feel a gentle stretch along the back of your extended leg. Rest your hands on your bent thigh for support, not on the knee of the leg being stretched. Hold, then switch sides.
Standing Quad Stretch
The quadriceps, the muscles on the front of your thigh, work hard to absorb impact and propel you forward. To stretch them, stand tall and use a wall or chair for balance if needed. Grab your right foot and gently pull your heel toward your glute.
Keep your knees close together and your posture upright—avoid arching your back. You should feel the stretch along the front of your thigh and hip. Hold for 20-30 seconds and repeat on the other leg.
Comprehensive Calf Stretch
Your calves are composed of two primary muscles: the larger gastrocnemius and the smaller, deeper soleus. You must stretch both. Stand facing a wall and place your hands on it for support.
First, to stretch the gastrocnemius, step one foot back, keeping that leg straight and your heel pressed firmly into the floor. Lean forward until you feel a stretch in the upper part of your calf. Hold, then switch. Next, to target the soleus, move the back foot in slightly and bend the back knee, keeping your heel on the floor. You’ll feel this stretch lower down in the calf. Hold and switch.
Figure-Four Stretch
This stretch is essential for targeting the glutes and the piriformis, a small muscle deep in the buttocks that can cause sciatica-like pain when tight. Stand on your left leg, using a wall for balance. Cross your right ankle over your left knee, creating a “figure four” shape.
Slowly bend your standing leg and sink your hips down and back as if sitting in a chair. The deeper you sit, the more intense the stretch will be in your right glute and hip. Hold for 20-30 seconds before switching sides.
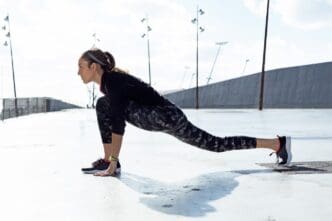
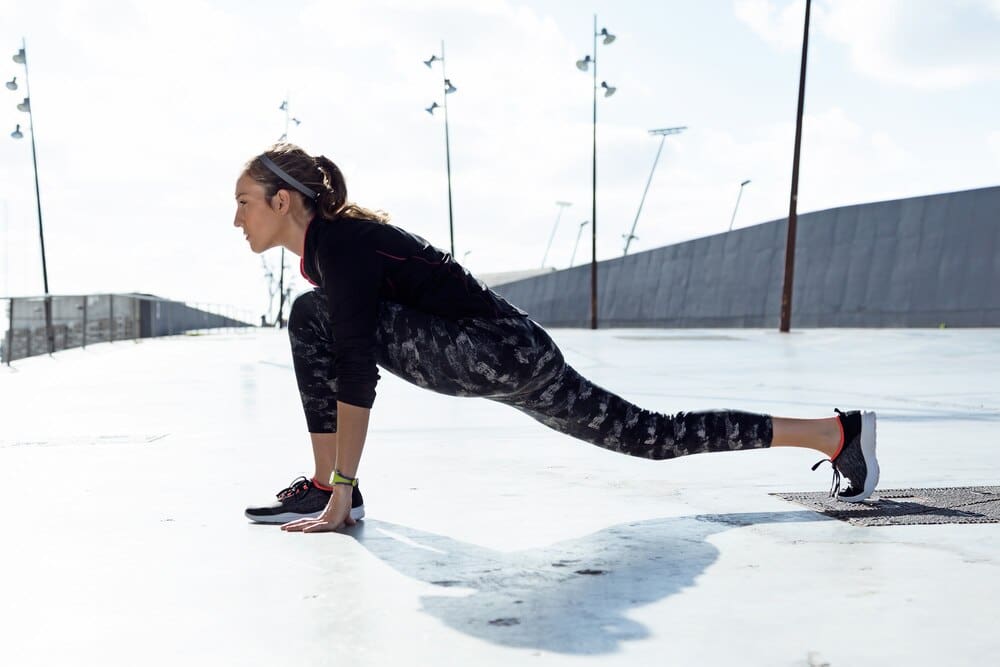
Kneeling Hip Flexor Lunge
Running involves repetitive hip flexion, which can lead to tight hip flexors and affect your posture and stride. Kneel on your right knee (use a mat for comfort) and place your left foot on the floor in front of you with your knee bent at a 90-degree angle.
Keeping your back straight, gently push your hips forward until you feel a stretch in the front of your right hip and thigh. For a deeper stretch, raise your right arm overhead. Hold and repeat on the other side.
Adductor (Groin) Stretch
The adductors, or inner thigh muscles, help stabilize your pelvis while running. To stretch them, sit on the floor and bring the soles of your feet together, letting your knees fall out to the sides in a “butterfly” position.
Hold onto your ankles and gently press your knees toward the floor with your elbows, or simply lean forward with a straight back. You should feel the stretch along your inner thighs. Hold the position, breathing deeply.
Common Cool-Down Mistakes to Avoid
Performing your cool-down correctly is just as important as doing it at all. Avoid these common pitfalls to maximize the benefits and prevent injury.
Stretching Cold Muscles
Never make static stretching the first thing you do. Your muscles are like rubber bands—when they’re cold, they are more brittle and likely to snap. Always perform 5-10 minutes of active recovery (walking, slow jogging) to ensure your muscles are warm and receptive to stretching.
Ballistic Stretching
Ballistic stretching involves bouncing or using momentum to force a muscle into a deeper stretch. This is an outdated and dangerous practice for a cool-down, as it can trigger a protective reflex in the muscle, causing it to tighten rather than relax. It also significantly increases your risk of a muscle tear.
Holding Your Breath
Many people instinctively hold their breath when they feel tension. This is counterproductive. Deep, diaphragmatic breathing helps deliver oxygen to your muscles and signals your nervous system to relax, allowing you to ease deeper into the stretch safely.
Pushing Through Pain
There is a distinct difference between the discomfort of a good stretch and sharp, stabbing pain. Tension is productive; pain is a warning sign from your body that you are pushing too far. If you feel pain, back off immediately.
Ultimately, the most effective cool-down is one that you do consistently. Think of it not as an optional add-on, but as the final, crucial mile of your run. By investing just 10 to 15 minutes after each session, you are making a profound investment in your recovery, performance, and long-term running health.